
Did you know that one of the most popular DIY home repairs is the concrete repair? It’s a relatively easy process, and if you do it yourself, it can be a very affordable way to fix up your driveway, sidewalk, or porch.
Concrete is one of the most durable construction materials available, but it is not indestructible. Over time, weathering, wear and tear, and exposure to extreme temperatures can all take their toll, causing cracks, chips, and other damage. If left unrepaired, this damage will only get worse, eventually leading to expensive repairs or even complete replacement. By patching and sealing your concrete on a regular basis, you can help to extend its lifespan and keep it looking its best. Patching fills any cracks or holes that have formed while sealing helps to protect the concrete from further damage by weatherproofing it. With just a little bit of regular maintenance, you can keep your concrete looking like new for years to come.
In this article, we’ll show you how to patch and seal your concrete greensboro nc to make it look new again. Let’s get started!
- Clean the surface of the concrete to be patched and sealed.
Start by sweeping the area to remove any loose debris. Next, use a hose or power washer to remove any dirt or grime. If you’re using a power washer, be sure to hold it at least 12 inches from the surface to avoid damaging the concrete. Once the surface is clean, allow it to dry completely before proceeding.
- Apply a coat of sealant to the surface.
Once the surface is dry, it’s time to apply a sealant. This will help protect the concrete from weather damage and stains. Be sure to read the instructions on the sealant container before proceeding. In most cases, you’ll need to apply a thin coat of sealant with a brush or roller. Once the sealant is applied, allow it to dry completely.
- Patch any cracks or holes in the concrete.
If there are any cracks or holes in the concrete, now is the time to patch them. You can use a ready mix concrete rahway nj patching compound for this job, or you can mix your own using cement and sand. Be sure to fill the cracks or holes completely and smooth the surface of the patch so it’s level with the surrounding concrete. Once the patch is dry, you can apply a second coat of sealant if desired.
- Allow the sealant to dry completely.
Once you’ve applied the sealant and patched any cracks or holes, allow the sealant to dry completely. This usually takes about 24 hours.
5 Apply a patching compound to any cracks or holes in the concrete.
Be sure to fill the cracks or holes completely and smooth the surface of the patch so it’s level with the surrounding concrete. Once the patch is dry, you can apply a second coat of sealant if desired.
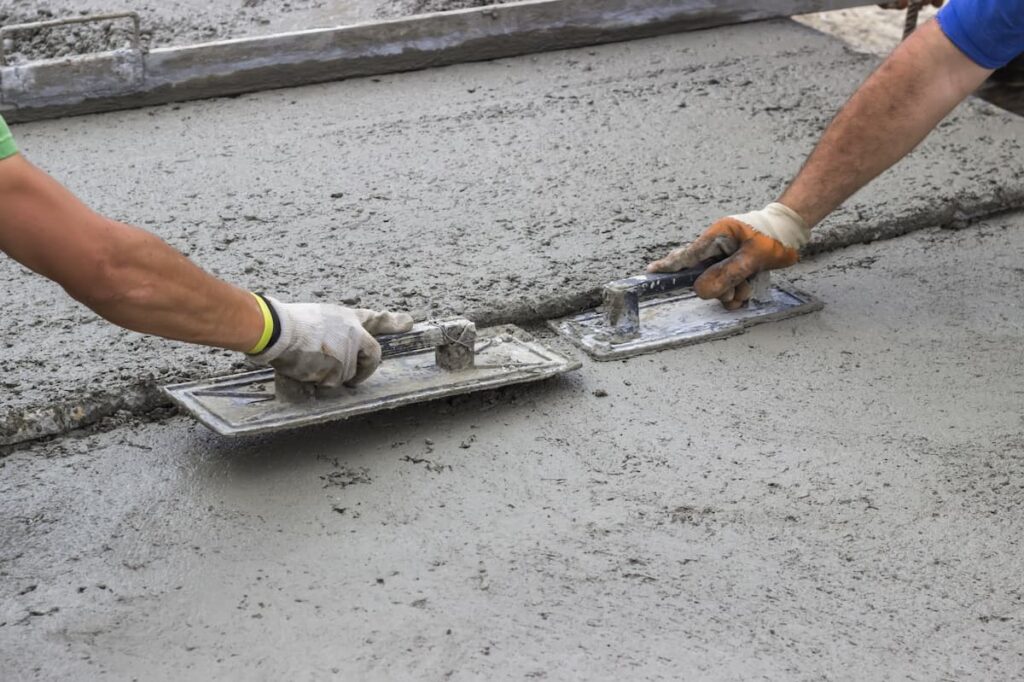
- Smooth out the patching compound and allow it to dry completely.
Once the patching compound is dry, you can smooth it out with a putty knife or roller. Allow the patch to dry completely before proceeding.
- Apply a second coat of sealant (optional).
Once the first coat of sealant is dry, you can apply a second coat if desired. This will help protect the concrete from weather damage and stains. Be sure to read the instructions on the sealant container before proceeding. In most cases, you’ll need to apply a thin coat of sealant with a brush or roller.
As any homeowner knows, concrete is a durable and low-maintenance material. However, over time, even concrete can succumb to the elements, developing cracks and chips. Fortunately, patching and sealing your concrete is a relatively easy DIY project that can help to extend the life of your patio, driveway, or sidewalk. In addition to being aesthetically pleasing, patching and sealing also help to prevent further damage by protecting the concrete from moisture and other environmental factors. So, if you’re looking for a way to spruce up your home’s exterior without breaking the bank, patching and sealing your concrete is a great place to start.